Wednesday, February 15, 2012

Product Review: Cell Buckle

Today I am doing a review of the Cell Buckle. I had been looking at different options for holding my phone/GPS on my bike. The Harley Davidson tank pouch (around $50) wouldn't work because my "tank" is aluminum. Most of the handle bar mounts seemed a little steep in price, so I decided to try the Cell Buckle ($20). http://thecellbuckle.com/


Ordering it was easy. I went to the website and ordered the unit. You need to know what size handle bar you have before you order. I have a 1" bar so I ordered the 7/8"-1" Cell Buckle. The other size is 1 1/4"-1 1/2".

The price was $20. I wasn't sure what I would get for that price, but I thought it was worth trying. For price I give a 8 of 10.

The Cell buckle came packed with plenty of packing and had the standard heat sealed plastic packaging. I give the packaging a 8 of 10.

The instructions are on the back of the packaging and the warranty is available by looking it up on their web site according to the back of the packaging. It is a basic product so it doesn't need very detailed instructions, and these are basic instructions. I give a 6 of 10 for instructions. After looking for a bit, I did not find the "warranty" page on their web site. I did find a disclaimer and the return policy. A restocking fee of 15% if the package is opened will be charged on returns. For the warranty I give it a 4 of 10.

The cell buckle is made from a flexible but hard plastic surrounded by a rubber outer layer. It comes with 2 rubber o-rings to hold it on. The materials are medium quality and it has large parting lines from the rubber over mold. I give it a 5 of 10.

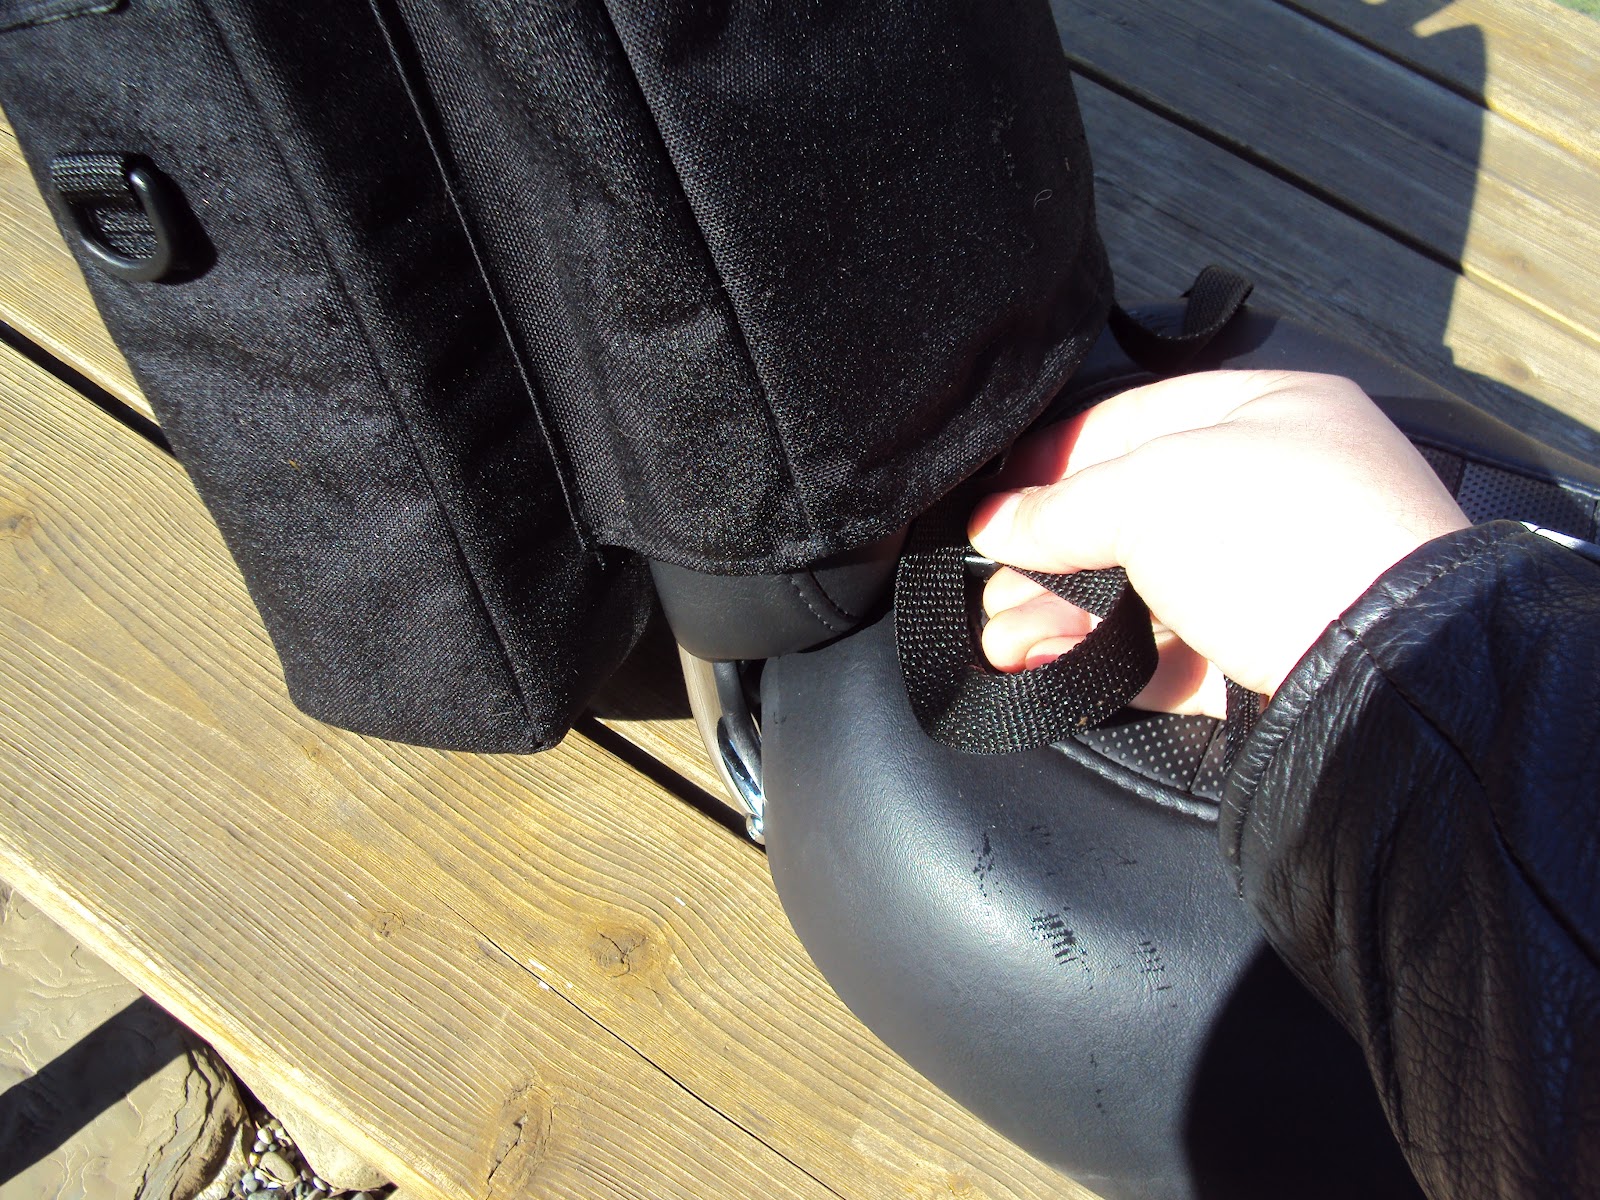
Attaching it to the handle bars is relatively easy. I ordered the model listed for my 1" handle bars. When I attach it to my bars I have to stretch it out quite a bit and the o-ring has to stretch a lot. It does not fit well, but at the same time, it will not turn on my bars when I ride. The clamp that holds the phone is very easy to operate. It slides tight easily and loosens with the press of one button. In my opinion there should be a middle model between the two available models for bar size. I give installation a 4 of 10.


I have attached this to my bike about 4 times now and the rubber is showing some tearing because of the poor fitment to the handle bars. My phone does not fit well because of the windshield mounts being so close to the Cell Buckle. This is not a mark against the Cell Buckle but I have to note that if your phone or GPS hangs out like in the picture above, it increases the amount of vibration the phone does. At $20 I wasn't expecting much. This is a cheaply made Chinese product but at least they don't over charge you. It does work but leaves much to be desired. If it were of better quality, it would have a higher price so I need to take that into account when rating customer satisfaction. I do use it when I have to, but I do not leave it on when I do not need it because it looks like it doesn't fit right (because it doesn't) and it looks like a cheaply made holder. I give it a 6 of 10.

That makes a grand total of 5.83.

Here are a few more pictures of the Cell Buckle.


If you would like for me to review and rate one of your products, you can contact me at budki@roadrunner.com. Please use the title "product review (product)" so I do not think it is spam.

The Cell Buckle is a low cost solution to holding your phone or GPS on your handle bars. You can also mount it to other things like grocery carts and strollers. Not really something I would recommend for anyone with a show bike.

Saturday, February 11, 2012

Syracuse Supper Swap 2012: There and Back

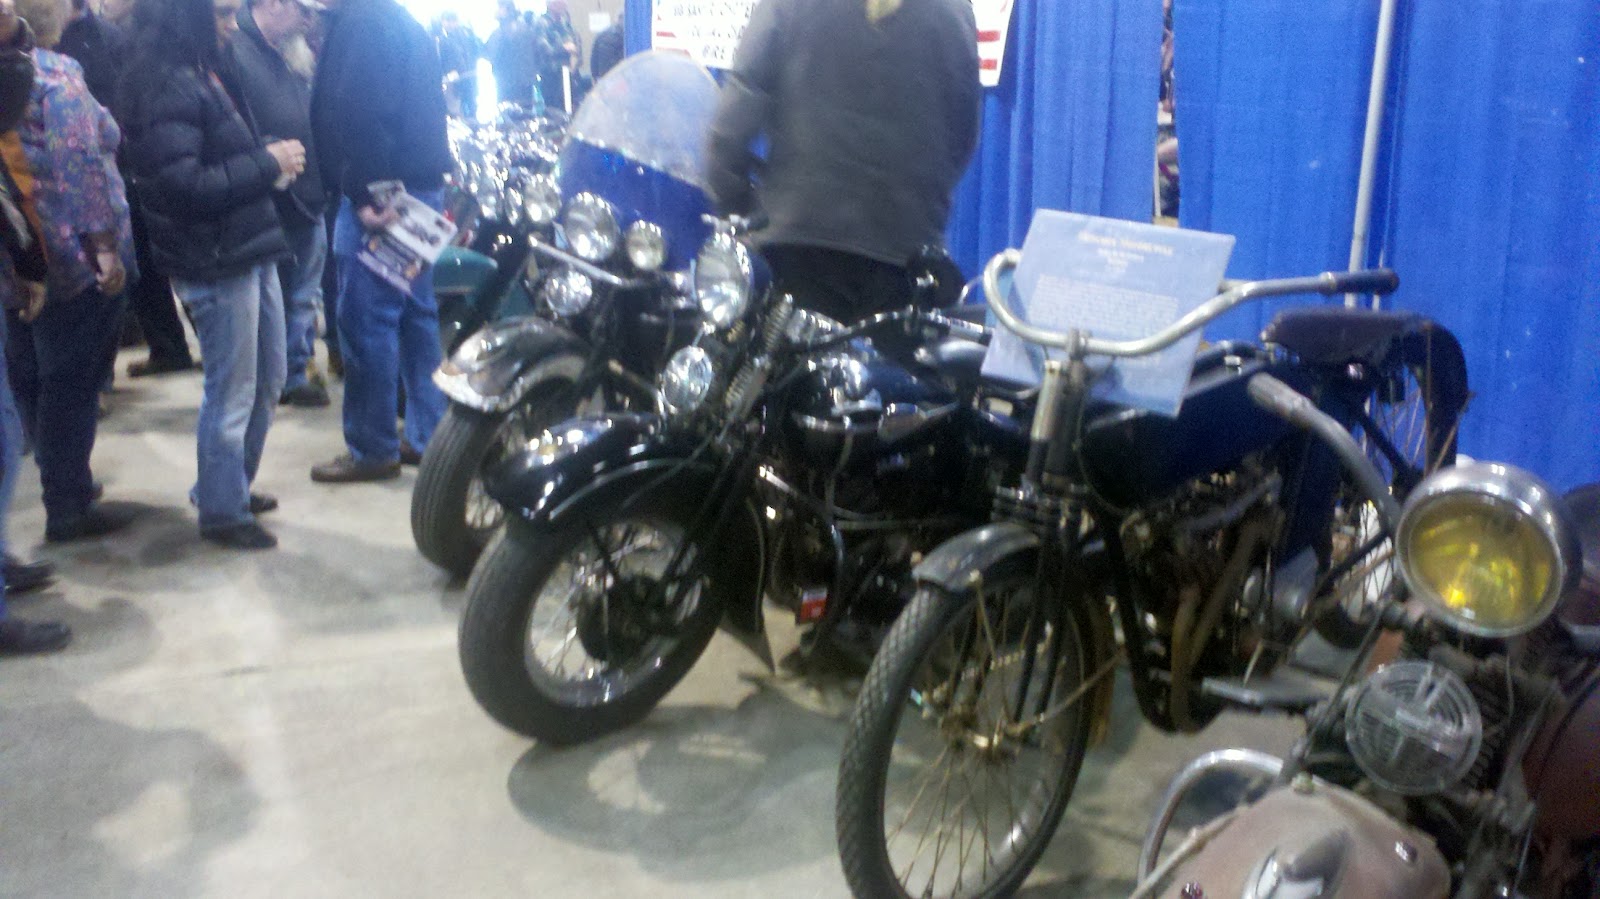
We just got home from the Syracuse Supper Swap and I couldn't wait to post my pictures. I brought my camera, but left it in the van so I had to use my phone. I am sorry that they are a little blurry.

Syracuse is about a three hour drive from my house. The weather was lightly snowing but the drive was fairly uneventful. This year the parking was much closer to the building that the swap is being held in. That is a good thing because it was about 20 degrees Fahrenheit and windy.

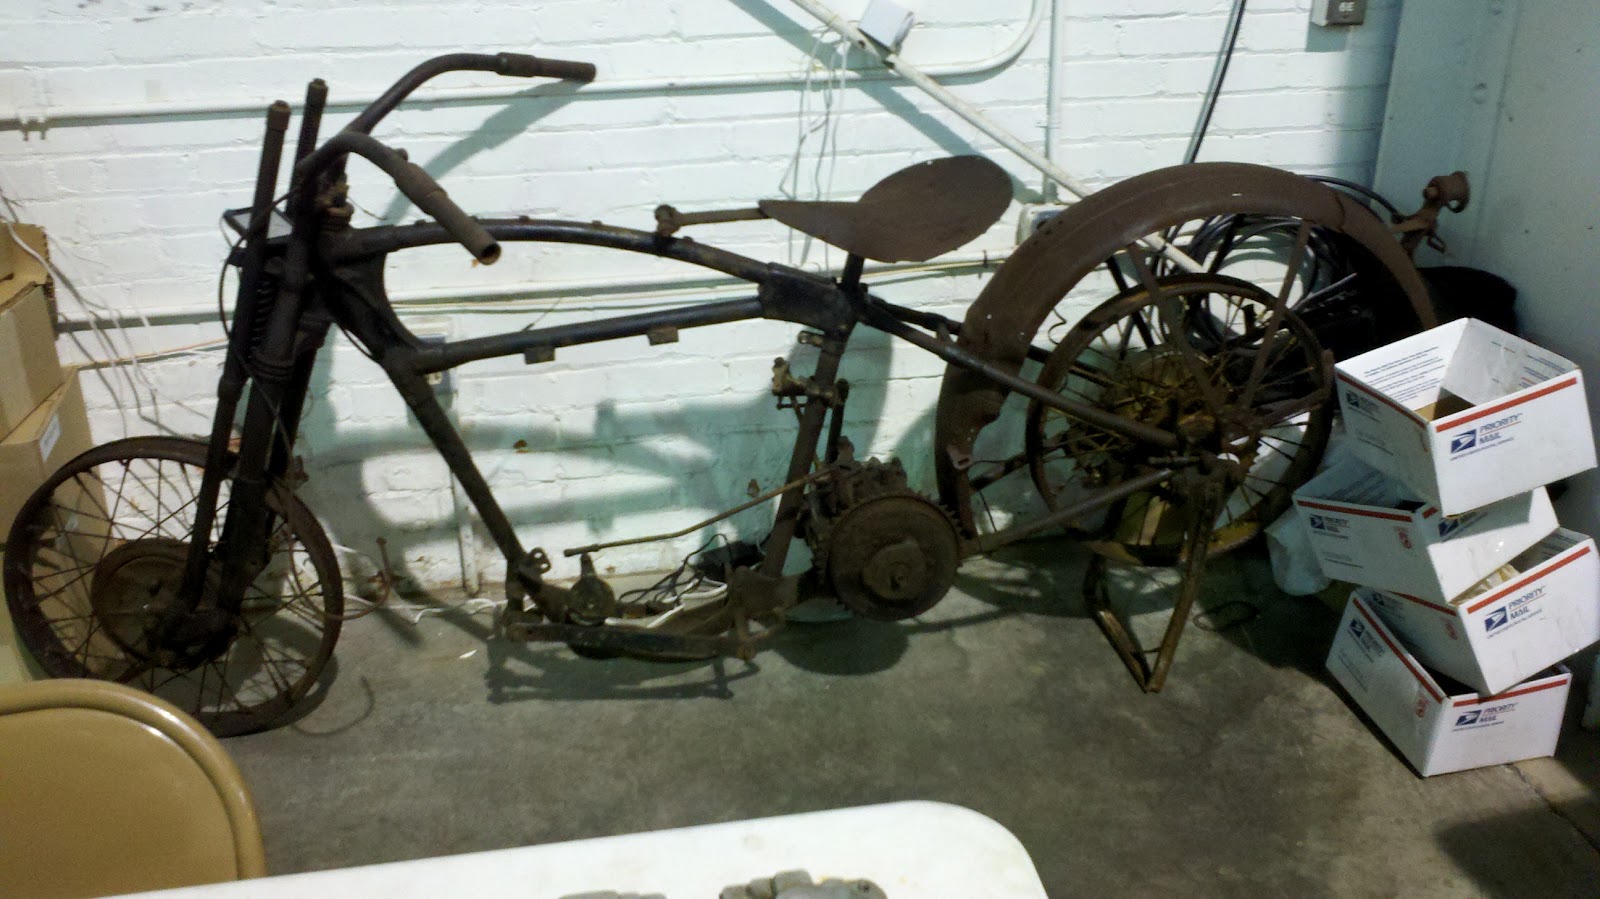
The building can get pretty crowded so we just followed the lines and visited each vendor and table slowly. For me that was good because I got plenty of time to look at the used parts on display. Vendors have everything from rusty old bike parts to unopened new parts and leather, jewelry, clothes, knives, and more for sale. There are motorcycles for show and some for sale. This year there were a few camping trailers for viewing. And all of this with a live rock band on stage.


There was one vendor selling Harley products still in the box. I found braided idle and throttle lines for $10 unopened that I am looking forward to putting on my bike soon. My fiance finally got one of those magnetic bracelets she had been wanting for years. I was able to talk the guy down 15% of his asking price.


About halfway through our tour we felt hungry so we went to the food court. I had a very tasty Ruben and my fiance had a hot dog and cheddar fries. It was a little pricey, but food at these types of things usually are. After we ate we continued our tour of the second half of the building.

Food Court

The Other Side


Led Zepplin Bike

I enjoy this swap meet and would recomend it to anyone looking to get out of the house in the winter to look at some nice custom bikes and other people's used bike parts. I would say that my fiance tolerates it for me, but in reality I know she likes looking at all the biker chick out fits that you can not see in stores. Last year I took our four kids and I dare say they had a good time too. The return ride too was uneventful, but at least I had new ideas and new inspirations to think about on the ride home. And there is something special about knowing you got a deal on something. I hope you enjoy my pictures.

Wednesday, February 8, 2012

Syracuse Super Swap 2012

Don't forget the Syracuse Super Swap 2012 going on February 11 & 12.

Check out http://syracusesuperswap.com/ for details.

Maybe I'll see you there!

Tuesday, February 7, 2012

Tech: Side Mount License Plate Install

One thing I really don't like about the VRSC is the cheesy plastic license plate and turn signal combo in the rear. This is one thing I needed to change to make this bike one step closer to mine.


There are several types of side license plate mounts out there, so this may or may not help you with your own project. Hopefully it will give a good idea of what is involved.

One day on my way home I decided to stop at the Hog Farm http://www.the-hog-farm.net/. This place is a mix between custom, used and new motorcycle gear and parts. There are gas tanks from 1970s choppers, at least 1 rolling frame, American made leather wear and a work shop in the back where one can only imagine what cool bikes are being built back there. So for me it is cool just to stop in and say hello while I look through the store. On this trip I found a used Softail side mount made by Kuryakyn. Working at a machine shop I figured if the price was right I would scoop this up and make it work on my Nightrod. Well the price was right and so I took it home.


This frame does not align with the NY license plate. I had to round the corners more and slot the mounting holes to fit this frame. I will also note that the exposed parts of this are very nice, but when you take it apart, the unexposed parts are sharp and some caution should be used or you may cut yourself.


For the custom bracket to adapt this to my bike I cut out a cardboard template and from there I took some aluminum that I had and cut it out on my scroll saw. This allowed me to mount the license plate and see how it would look. From there I took some measurements and made a blue print of it to make my steel bracket. I have the 1" lowering blocks on my rear shocks so this bracket is made to work with those. I do not think this would work with the stock set up. You are welcome to use my print to make a bracket for your own bike, but if it is used to make a profit, I reserve the right to claim a %. =)


After making the bracket I mounted it and measured it for a third hole to thread the wires through (as it is a lit up license plate holder). I went to the local hardware store and bought a wire grommet and some vacuum line. I fitted the grommet in the bracket and threaded the wire through the vacuum line so that it wouldn't be exposed to the elements next to the wheel.


From there I led the wires up under the seat and followed the wire harness to the rear where the original license plate wire plug is. I ran the vacuum line where the line would rub against metal to protect it. When it met up with the wire harness I did not use the vacuum line any more. I had to visit the local Harley shop to get a plug (under $3) and crimped it on.

To get the rear seat and outer fender off takes simple tools. Metric Allen wrenches are almost all you need. If you have saddle bags, you will need a set of metric wrenches or sockets to take the mounts off. To take the rear brake light out you can use a flat head screw driver under the outer fender and press the bottom clip in. I took the outer fender off with the light still attached. The rear plate mount and turn signals are basically one unit. This will come off easily after you remove a few screws and nuts. There will be three electrical plugs you will need to disconnect the license plate and turn signal assembly. The Harley-Davidson site has PDF files that can help if you need instructions. Look up the parts and some parts will have the PDF file right there to look at.


The two plugs that are not hooked up are for my next project, relocating the rear turn signals. I am still waiting on a few parts to complete that part of my bike.

Here is a photo with the new license plate on, but the rear outer fender and seat are not on yet. If you look closely you can see snow on the floor.


I froze my fingers off using soapy water to feed the wires through the vacuum line as I used the smallest diameter I could get away with. So far I am very satisfied with it and can't wait to finish the turn signal relocation to put it back together and see the final poduct. Soon.

Sunday, February 5, 2012

Product Review: Road Ready Bags

Today I am doing a review of the Road Ready Bags. Awhile back, 8 months or so, I was looking for a sissy bar bag. My father had just come back from a bike rally in PA and he had bought a sissy bar Barrel Bag from one of the vendors at the rally. I was impressed with the heavy duty canvas that was on the out side and the stiffness of the foam middle layer. So I went online and looked at the other bags they offer. http://www.roadreadybags.com/

The one I chose was a Mini Daytripper. I wanted something to replace my hard side lunch box that was going on 11 years old and would easily attach to the bike. I emailed Road Ready and asked if they would be able to add D rings to the top so I could put a shoulder strap on it for walking at rallies. They did this for me at no added cost. Bonus. The only other information they needed are the dimensions of the sissy bar and pad so they can make the custom size sleeve and straps.

The price was $52.00. Not bad for a custom fitted American made heavy duty bag. I give price a 7 out of 10.

Upon receiving the bag, it came in a box with plenty of filler. Packaging I give an 8 out of 10.

The bag came with instruction on how to care for the bag and the limited lifetime warranty. Instructions I give an 8 out of 10 and the warranty covers the bag for most issues so that gets an 8 out of 10 as well.

The bag is constructed out of heavy duty canvas with what I think is a nylon inside layer and about 1/4" of foam between. The seams are of a heavy thread too. I like the white strip along the top, as it is reflective at night. Construction and materials I give a 9 out of 10.

Attaching it to the sissy bar is relatively easy with two straps and plastic buckles (some variance with other bags). You can attach it facing the rear if you have a passenger or facing forward over the rear seat (this can be nice for bigger bags as it can become a backrest). For installation I give a 8 out of 10.


I have been using this bag every day since I bought it 8 months ago and it has not shown any signs of wear. On long rides, it will keep beverages cold with an ice pack even on very warm days. I am very happy with this product and would recommend it to anyone looking for a quality American made bike bag. Customer satisfaction I give a 9 out of 10.


That makes the grand total score of 8.17. You may wonder why I did not rate the bag higher if I like it so much, I reserve 10 for products the totally blow me away.

Here are photos of my dad's barrel bag.


If you would like for me to review and rate one of your products, you can contact me at budki@roadrunner.com. Please use the title "product review (product)" so I do not think it is spam.

I would like to thank Road Ready for their quick responses to my order quetions and congradulate them on a quality Amaerican Made product.

Saturday, February 4, 2012

Rides Growing Up

Today I would like to share some of my bikes.

I had owned two Honda bikes when I was in my teens. One was a 125 dirt bike at 14 that I ran through the woods for awhile. It was about 10 years used (I think it was a 1979) so it had it's issues but I had a lot of fun on it. I learned how to maneuver through tight places and how to jump it. My friend Jamie was able to get it around 15 feet high in his back yard. I was only willing to go around 10 feet (we had a limited area to land after the ramp). I learned quickly that a bald rear tire presented a great deal of problems in the hills and mud around where I grew up. At 16 I sold it to buy some car parts for my 1980 Camaro I was fixing up.

The second Honda I owned was a 200 road bike (I think 1982). I bought it off of Jamie when I was 17 for $200. It didn't have that much power and when I got it the thing wouldn't run very long. I tore the carb apart and cleaned it, added a new plug and remember messing with the electronics (but don't remember specifics). It ran well after the over haul. The bike was an olive green and ugly. My dad had paint left over from a car repair he had done in his garage, a metallic burgundy. I sanded the bike down, cleaned it up, and did my first paint job. This bike I sold a few months later for $400.

The next, really isn't a bike but something I bought at 21 and still have. 1998 Kawasaki Lakota 4 wheeler. I have a lot of great memories riding with friends and family on this machine. In 2000 I was riding this with a few of my closest friends in a place called Skinner Hollow. http://www.topozone.com/map.asp?lon=-78.8911456&lat=42.3917283&datum=nad83 It is a ravine with sheer rock walls on both sides sometimes 75 feet or more high. It is a huge challenge just to get there. We rode there for a few hours, had a lot of fun and I took the pictures. On the way out I had an accident. My feet were wet, and I was riding over some bowling ball sized rocks when my foot slipped off. My foot was caught between a rock and the foot peg. I would have been better off if my shin bone had broke, but instead my leg twisted at the knee and snapped outward at the knee. Long story somewhat shorter, after 8 months of therapy and surgery, I lost about 45% of the crown cartilage in my knee, tore every connecting ligament and tendon connecting my shin to my thigh between 25% to 100% requiring some grafting and screws to make it usable again. This really slowed down the pace that I took on the world.

In the summer of 2007 I bought a 2003 Harley Davidson 883 anniversary Sportster. I really like the way this bike looked. I did not like the way it rode. When I bought this I had just finished going through a divorce and had the kids part time. Even though the bike didn't ride smooth, I put a lot of miles on it with my new girlfriend. It really made me feel good to get out of the house and loose my thoughts. The divorce had taken a lot out of me. Up until then I had devoted almost all of my time to the 3 kids and her, so when I realized it was over, I didn't know what I was going to do with my life. About 6 months after the divorce started I met a wonderful woman that picked me up and gave me new hope. Shortly after that I bought the Sporty and it became our thing to do when we didn't have kids around. I put a little over 3500 miles on it. One summer was very rainy so most of the miles were put on in the span of 2 riding seasons. Like I said before, the bike didn't ride that well, especially with two people so after 3 years I started looking at other bikes. I sold it for the same price I bought it for (I had put a bit of chrome on it) to someone I knew. It was an easy sell, because it was a sexy bike.

2003 883 Sporty

The bike I bought to replace the Sporty is a 2006 Nightrod and is the bike I have now. I had done a lot of research before buying this bike. Being a motor head, it had to have performance. And it had to be an American brand if I was going to invest money into it. From my experience Harleys hold the best value over time. I grew up riding my dad's Softails and I really thought I would buy one of those, but after taking the vrod for a ride, there was no doubt what I wanted. I looked at several and then found one near where I live. It needed a little TLC and the price was right so I scooped it up. I have no regrets at all. I bought it in July and put about 2500 miles on it before the riding season was over this past year. The only thing I do not like about the vrod has nothing to do with the bike, but with the lack of support it gets. I visit different Harley dealerships when I can but they usually never have parts in stock or on display. At most they have about 5 or 6 VRSC specific parts on display compared to 100s for their other bikes. And the other thing is that magazines seem to avoid this bike. I look through magazines all the time for ideas and tech tips but I think it has been a year since I found one. That is my driving force for writing this blog. Over time I would like to pull together vrod websites, forums, personal tech tips/ modifications and product reviews.
2006 Nightrod


Wednesday, February 1, 2012

Early Paint Schemes

Like everyone, I have a vision of what I want my bike to look like when I am done. I have gone over seats, sissy bars, handle bars, lights and the list goes on. I have a good idea of what I want to add or subtract from the bike. Some are simple bolt ons and some are going to be custom made.

One thing I can not get my head around, is how do I want to paint the bike? I do know that I want to do some of the painting. I may have someone put down the primer and a base coat so that I can airbrush something on it. Then I would have them clear coat it and buff it.

But what should I do? I know I like black. I had a black 2003 Sportser that looked sexy. My dad had a black 1996 Softail Custom with red pin stripes. I think a base of black is required for me.

I have a few drawings I will post and a couple of mock ups on my tank with painters tape.
I wasn't sure where I was going with the above drawing. It was a red racing stripes with fish net masking and hot rod flames. After drawing it, it kinda reminds me of Spiderman.


Corvette fans may recognise the above design. I call it the L88 after the Corvette L88 hood paint scheme. I got this idea watching a car auction on TV.

On this design, I was thinking about painting the silver V to look 3D like the front V on old car grilles

This is a double stripe like stock Nightrods have, but wider.


I don't have it drawn, but the lead thought I am having is the "real flame" look. I painted something like it in high school (early 1990s) so I think it is something I could handle.

I am in no rush to figure it out now. I have to finish customizing before I paint, but thought I would throw my ideas out there.